|
|
EchoLink and the URI | |
|
Home |
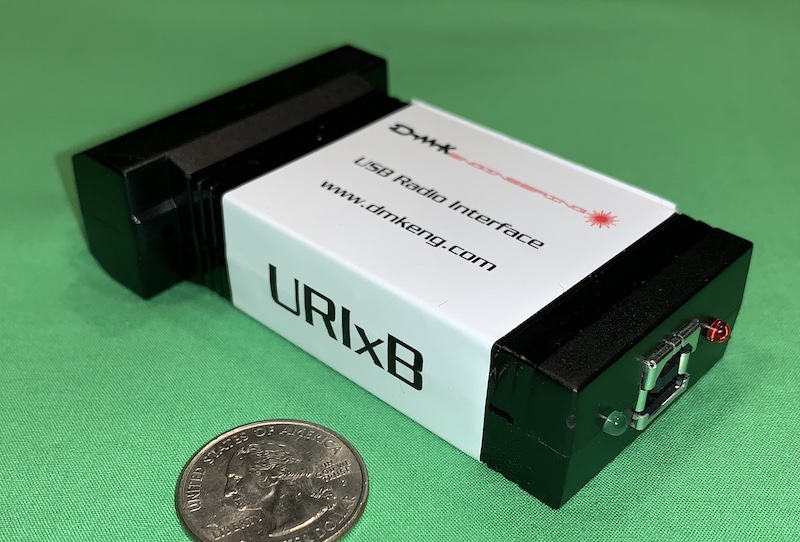
EchoLink for Windows (version 2.3 and above) supports the URI series of USB-to-radio interfaces, as an option when running EchoLink in Sysop mode. The URI is a USB-powered interface with a built-in sound chip that lets you connect a transceiver to your PC, with both sound and signalling, over a single USB connection. It's available from DMK Engineering at dmkengineering.com. Ready-to-go cables for connecting the URI to many popular transceivers are available from uricables.com. PreparationBefore connecting the URI, please disable the Windows service called “Human Interface Device Service”. This service can interfere with proper operation of the URI. Use Windows+S to search for the Services app; locate Human Interface Device Service, right-click it, choose Properties, and change the Startup type to Disabled. Click OK to save. InstallationUse the USB cable to connect the URI to any available USB port on the PC. Avoid using a USB hub with the URI, unless the hub has its own power supply. When connected to USB, the green LED on the URI should illuminate. When connected, Windows will automatically download and install the appropriate drivers. Windows will set up the URI as a new sound device, typically named “USB Audio Device” or “C-Media USB Headphone Set”. This might also become the new default sound device on your PC, which is probably not what you want if you already have another. In that case, after connecting the URI, right-click the speaker icon in the system tray, choose Sounds, and on the Playback and Recording tabs, set your original sound device as the default for both. EchoLink SetupIf not already done, install EchoLink, and run it. During first-time setup, EchoLink will ask which type of node to configure; choose Simplex Link or Repeater Link. Or, if you’ve already installed EchoLink, choose Link Setup Wizard from the Tools menu. In either case, choose URI as the type of interface to be used. (If the URI option is grayed out, check to be sure the drivers installed themselves correctly, and that the device is properly connected.) After completing the wizard, choose Setup from the Tools menu, select the Audio tab, and choose “USB Audio Device” or “C-Media USB Headphone Set” as the audio device for both input and output. If you have another sound device such as built-in speakers, you can choose that as the 2nd Output device, for monitoring; this is optional. You'll also want to set the DTMF decoder to Internal, since the URI does not have a decoder built in. Testing and AdjustmentConnect the URI to the transceiver, power up the transceiver, and then run some tests. Pressing the Ctrl+F10 key combination should key and unkey the transmitter. Opening the squelch on the transceiver (or listening to a QSO in progress) should cause the purple SIG indicator to appear in the bottom-right of the EchoLink screen; it should vanish when the squelch is closed. If SIG isn’t tracking correctly, you might need to invert the sense of the COS signal: Choose Sysop Settings from the Tools menu, and on the RX Ctrl tab, tick the “Invert Sense” checkbox. Click OK and re-test. To set the transmit and receive volume levels, choose Audio Levels from the Tools menu, and choose the USB Audio Device (or C-Media USB Headphone Set device) to adjust. The Tone Generator tool (from the Tools menu) is handy for adjusting the transmit audio level. |